- FS22
- 14
- 09.2024
- 13:57
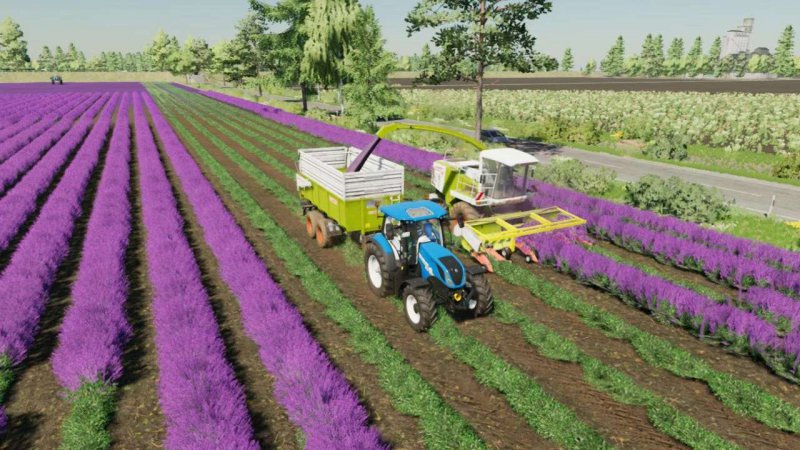
FS22 Lavender in Rows (Prefab) v1.0.0.1
|
Description
FS22 Lavender in Rows (Prefab) v1.0.0.1
Hello there,
V1.0.0.1
– deleted unnecessary cutterEffects.txt entries
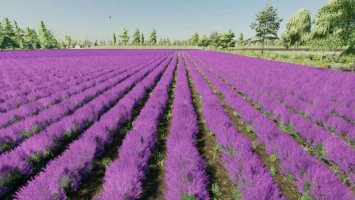
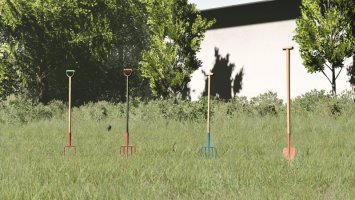
So this is my first attempt at Lavender in actual rows.
The textures that are in use are quite big. (4096×4096 to be specific)
Hence why this folder will be 260MB if you unpack it.
However, I have added smaller textures as well in the “textures1024x1024” folder.
If this entire package is too big for your map or whatever, just delete the “textures” folder in “…\foliage\lavender” and rename the “textures1024x1024” to “textures”.
The game will now use the smaller texture files. And the difference isn’t really that big, to be honest.
You are free to add them to your modmaps, or modify these textures and rerelease them again as well. I just want people to have fun
with lavender.
I’m not 100% happy with everything. But it’s a start nonetheless. And I hope more people might create lavender-related mods now. Because lavender rocks.
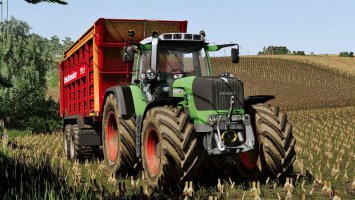
Anyway, I recommend using the lavender header I converted from FS19 in order to forage harvest our beloved lavender.
Another option is the “JOHN DEERE CS 690 AND 606SH/608SH LAVENDER” mod to make bales.
Also, care tires might be a good idea as well (just saying). Parts you drive over will take longer to grow back.
Well then, let’s smack lavender into your modmaps and harvest away!
Happy farming!


/rating_off.png)
/rating_on.png)
/rating_half.png)


Hi your prefab looks fantastic and that is how Lavender is grown, but but can you help me to put into mod maps, here is hoping that you get back to me
Hey mate,
What exactly are you having problems with? Have you read the readme files and gone through them step by step?
Here is something I answered somebody on another modding site that might help you:
“1. make sure your map already is a multifruitmap / doesn’t have the fruit limit anymore.
(There are tutorials on how to change it to a multifruitmap by FarmerBob for example.)
2. Start by copying the “lavender” folder from inside the “foliage” folder into the “foliage” folder of your map.
3. Copy the huds files into the “huds” folder of your map.
4. Copy the 4 fillPlanes files into the “fillPlanes” folder of your map.
5. Now copy the “lavender” folder from inside the “effects” folder into the “effects” folder of your map.
6. Now copy the “lavender” folder from inside the “cutter” folder into the “cutter folder of your map.
7. Download Notepad++ if you don’t have it. You will need it to open the XML files.
8. Start with copying the entries from cutterEffects.txt into the right sections of the “cutterEffects.xml”, do the same with cutterFruitEffects.txt, cutterThreshingEffects.txt, effects.txt, maps_fruitTypes.txt, … and so on. It should be 8 XML files you will have to edit.
9. Make sure the pathways are correct. For example in the cutterEffects.xml you might have to change the following links, so it finds the right i3d, because your modmap structure might be different than the the structure of the map I have created these textures on: “maps/effects/cutter/lavender/lavender_harvestReadyGreen.i3d”
10. Also check the pathways in the other copied xml entries.
For example, the maps_fillTypes.xml –> “maps/fillPlanes/lavender_diffuse.png.” If your structure is different, you obviously have to change the values so the XML actually finds the picture.
There is also a video from a Czech guy, maybe it helps:
https://www.youtube.com/watch?v=vWRGnlxqKUM
Other than that, I can only recommend searching for FarmerBob’s videos on YouTube. He has a bunch of videos about this topic, and the steps are the same for every fruit type.
If you have any more questions don’t hesitate to ask :)